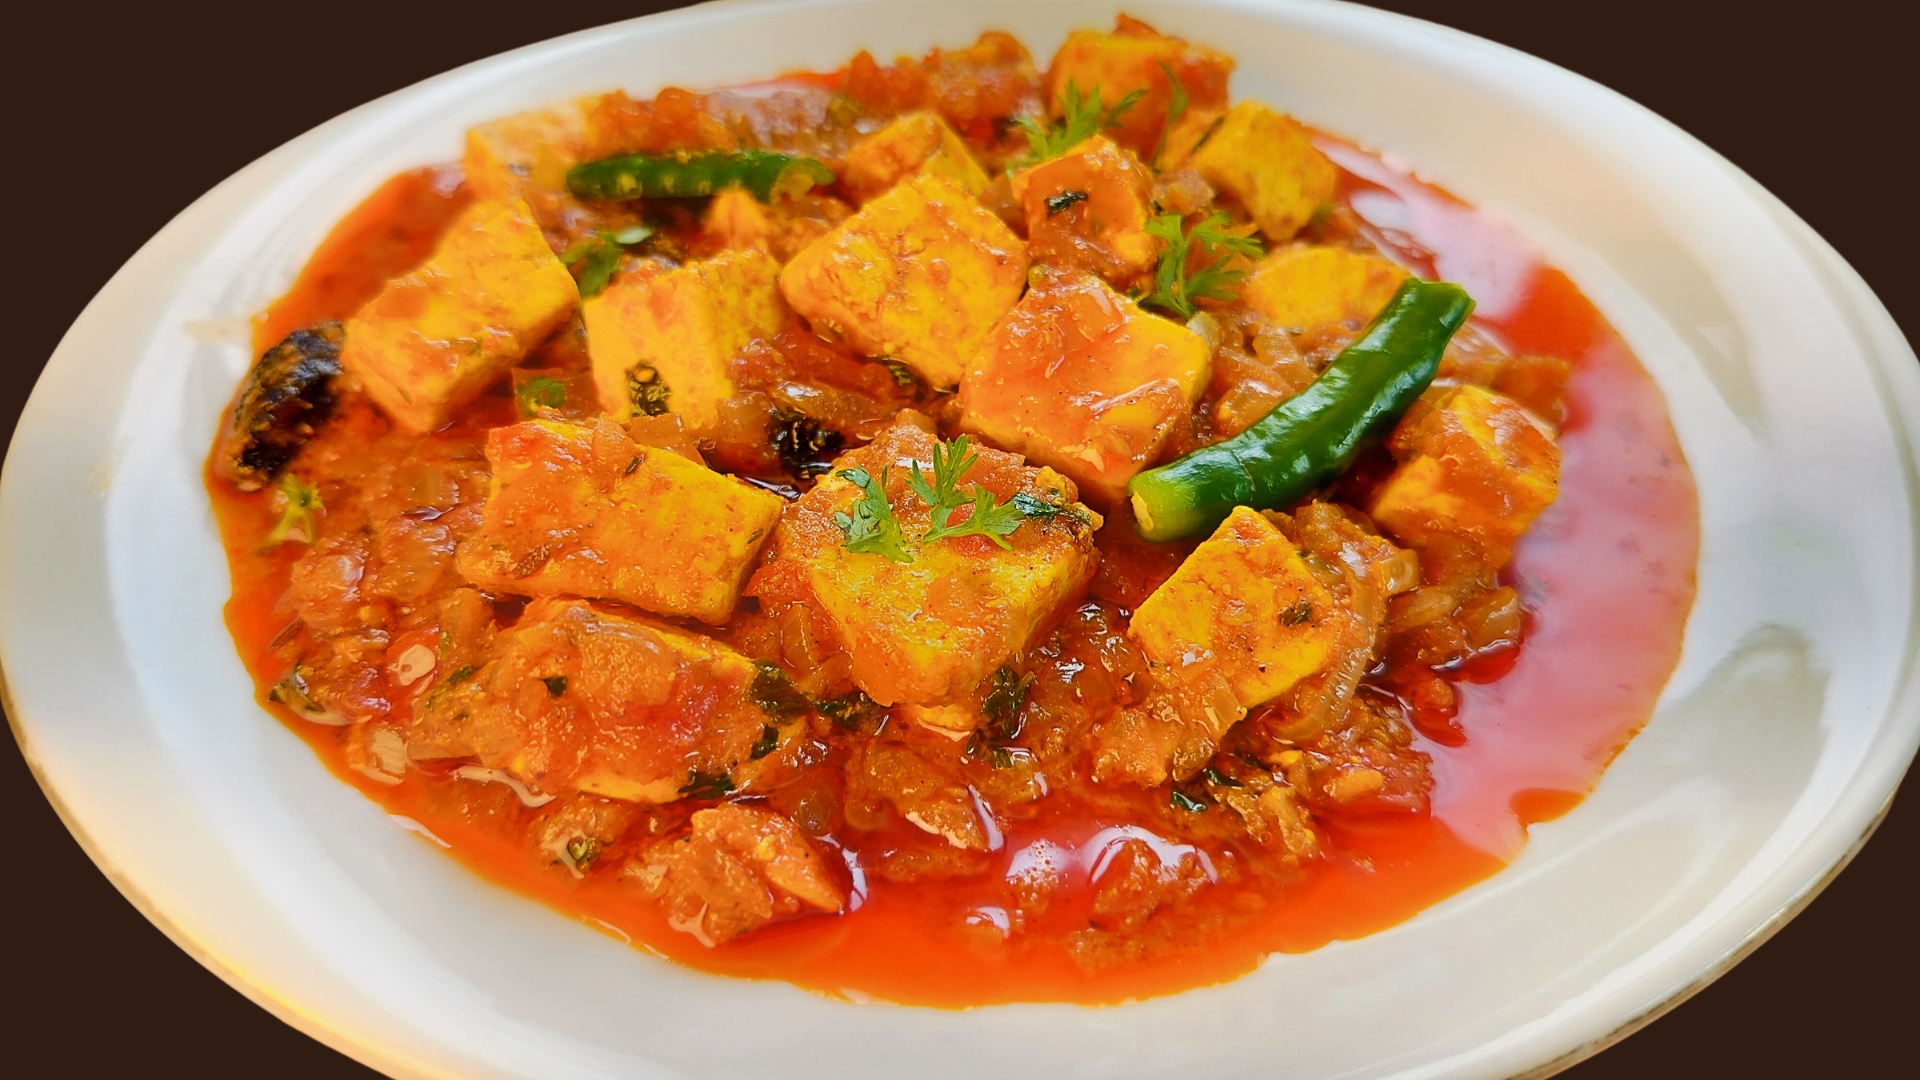
Paneer Masala Recipe: A Delicious and Flavorful Indian Delight

Paneer Masala

Paneer Masala is one of the most beloved dishes in Indian cuisine. This rich, creamy, and aromatic curry is a hit at both everyday dinners and special occasions. The star ingredient, paneer, is a type of fresh cheese that perfectly absorbs the flavors of the spices and gravy. Making Paneer Masala at home is a rewarding experience. This dish’s popularity extends beyond India, making it a global favorite, especially among vegetarians. Let’s get into the details of how to make this mouth-watering dish! Ingredients To make a delicious Paneer Masala, you’ll need the following ingredients: Each ingredient plays a crucial role in building the layers of flavor in the Paneer Masala. The paneer provides a soft, creamy texture, while the spices and masala paste add depth and complexity to the dish. Fresh cream and butter lend richness, making the curry velvety smooth. Step by Step Recipe Let’s walk through the process of making Paneer Masala step by step: Tips for Perfection Achieving the perfect Paneer Masala can be easy if you keep a few tips in mind: Serving Suggestions Paneer Masala is a versatile dish that pairs well with various Indian breads and rice dishes. Here are some ideas: Common Mistakes to Avoid Making Paneer Masala is simple, but there are a few common pitfalls to watch out for: History and Origin Paneer Masala, like many Indian dishes, has its roots deeply embedded in Indian culinary history. Paneer itself has been a staple in Indian diets for centuries, particularly in the northern regions. The use of spices, cream, and butter in cooking paneer became popular during the Mughal era, influencing the development of rich and flavorful dishes like Paneer Masala. Over time, this dish has evolved and spread across the country, with each region adding its unique twist. Health Benefits Paneer Masala is not only delicious but also packed with nutrients: Variations While the traditional Paneer Masala is hard to beat, there are several variations you can try: Regional Cuisines Paneer Masala takes on different forms across India, influenced by regional spices and cooking techniques: Frequently Asked Questions (FAQs) To know more about Paneer Masala click here. Few of our other Trending Recipes: Misal Pav Recipe: A Spicy Delight from Maharashtra Pohe Recipe: A Step-by-Step Guide

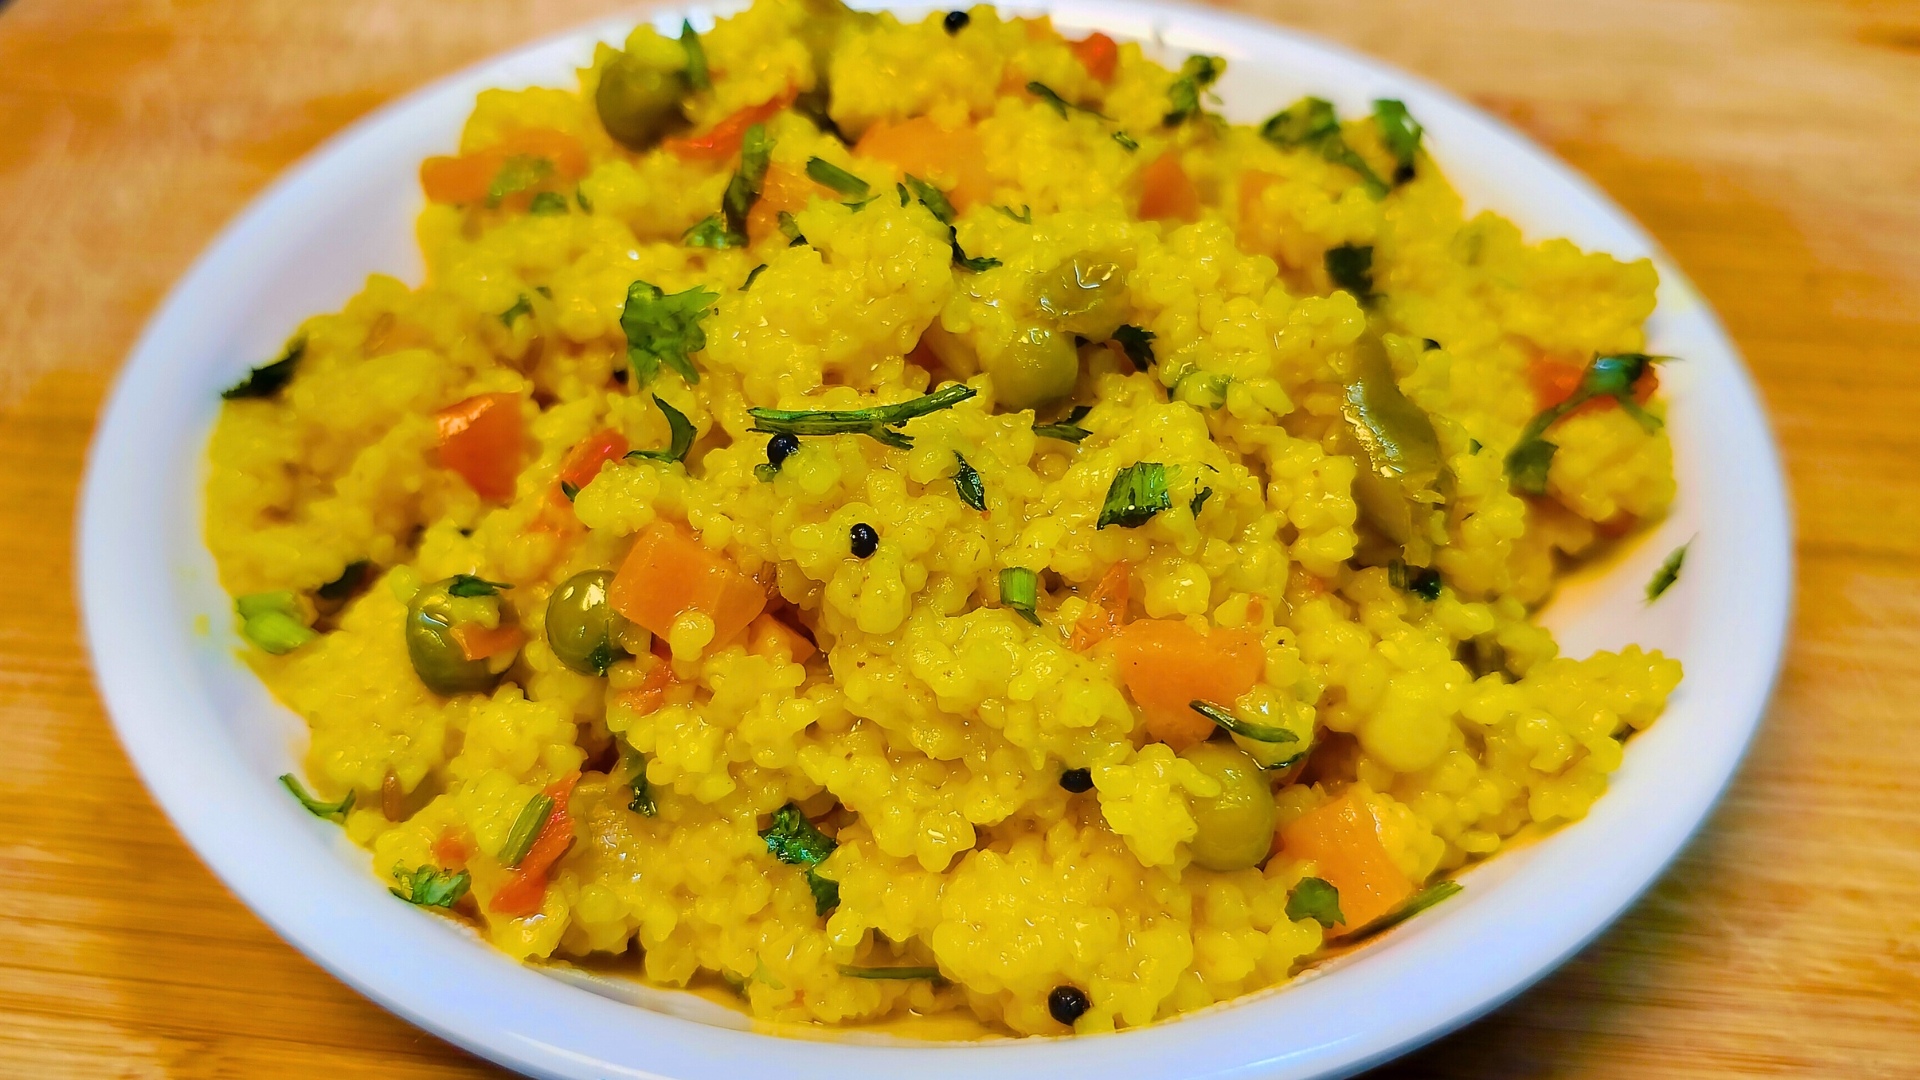
Veg Daliya Recipe: A Nutritious, Flavorful, and Simple Indian Delight

Daliya

Veg Daliya, also known as broken wheat porridge, is a wholesome and comforting dish that holds a cherished place in Indian kitchens. It’s a one-pot meal that combines the goodness of vegetables with the heartiness of daliya (cracked wheat), making it a perfect choice for a nutritious breakfast, lunch, or dinner. This versatile dish is not only easy to prepare but also rich in fiber, vitamins, and minerals, making it a go-to meal for health-conscious individuals. Ingredients To prepare a flavorful and healthy Veg Daliya, you’ll need the following ingredients: Optional Ingredients: Step by Step Recipe Tips for Perfection Serving Suggestions Veg Daliya is best served hot. Here are a few ways to elevate your serving: Common Mistakes to Avoid History and Origin Daliya has been a staple in Indian cuisine for centuries, particularly in the northern and western parts of the country. Traditionally, it was used as a nourishing meal for the sick or elderly due to its easy digestibility and high nutritional content. Over time, with the inclusion of vegetables and spices, it evolved from a simple gruel to a flavorful dish enjoyed by all. Health Benefits It is packed with health benefits: Variations Regional Cuisines Veg Daliya is prepared differently across various Indian states: Frequently Asked Questions (FAQs) To know more about Daliya click here. Few of our other Trending Recipes: Misal Pav Recipe: A Spicy Delight from Maharashtra Pohe Recipe: A Step-by-Step Guide
Soya Chunks Masala Recipe: A Delicious and Nutritious Delight

soya chunk

Soya chunk masala is a flavorful, protein-rich dish that has earned its place in the hearts and kitchens of many. It’s a versatile recipe, cherished by both vegetarians and non-vegetarians alike, and is particularly popular among those looking to incorporate more plant-based proteins into their diets. Soya chunks, also known as textured vegetable protein (TVP), are a meat substitute that soaks up flavors wonderfully, making them the perfect base for a spicy, aromatic masala. Whether you’re looking for a nutritious weeknight dinner or a dish to impress guests, soya bean chunk masala delivers on all fronts. Ingredients Before we check the cooking process, let’s gather all the ingredients you’ll need: Optional Ingredients: Step-by-Step Recipe 1. Preparing the Soya Chunks: 2. Making the Masala Base: 3. Cooking the Soya Bean Chunk Masala: 4. Final Touch and Garnishing: Tips for Perfection Serving Suggestions Soya bean chunk masala pairs wonderfully with a variety of Indian breads like chapati, naan, or paratha. It’s also a great match with steamed rice, jeera rice, or even a simple pulao. For a wholesome meal, consider serving it with a side of raita and a fresh salad. This dish can be a star at dinner parties, weekend family meals, or even as a hearty lunch. Common Mistakes to Avoid History and Origin Soya bean chunks were originally developed as a byproduct of extracting soybean oil and have been popularized globally as a meat substitute due to their high protein content. In India, soya chunks were embraced into vegetarian diets, and the soya bean chunk masala became a staple due to its hearty nature and ability to absorb robust flavors. The dish is a perfect example of how global ingredients are adapted into regional cuisines, showcasing the creativity and versatility of Indian cooking. Health Benefits Soya bean chunks are a powerhouse of nutrition. They are high in protein, making them an excellent meat substitute, particularly for vegetarians and vegans. They are also low in fat and carbohydrates, making them suitable for those looking to maintain or lose weight. Additionally, soya chunks are a good source of dietary fiber, which aids in digestion, and contain essential vitamins and minerals, including iron, calcium, and magnesium. Variations The beauty of soya bean chunk masala lies in its adaptability. Here are a few variations you can try: Regional Cuisines Different regions in India have their own unique take on soya bean chunk masala. In North India, it’s often made with a rich tomato and onion gravy, while in South India, it might include coconut and curry leaves, giving it a distinct flavor. In some parts of Gujarat, it’s made sweeter with the addition of jaggery, while in Maharashtra, you might find it spicier, with a generous use of red chilies and garlic. Frequently Asked Questions (FAQs) 1. Can I use canned soya bean chunks? 2. How can I make the dish less spicy? 3. Is soya bean chunk masala suitable for kids? 4. How do I store leftovers? 5. Can I make this dish in advance? To know more about Soya Chunks click here. Few of our other Trending Recipes: Misal Pav Recipe: A Spicy Delight from Maharashtra Pohe Recipe: A Step-by-Step Guide
Pav Bhaji Recipe: A Delicious Journey Through India’s Favorite Street Food

pav bhaji

Pav Bhaji is more than just a dish; it’s an experience that brings together the richness of Indian street food culture with the comfort of home-cooked meals. Originating from the bustling streets of Mumbai, Pav Bhaji has become a beloved dish across India, transcending regional boundaries and culinary traditions. This delightful combination of spicy vegetable curry (Bhaji) and buttery bread rolls (Pav) is not just a feast for the taste buds but also a symbol of India’s diverse culinary landscape. Watch Recipe Video Ingredients To make authentic Pav Bhaji at home, you’ll need the following ingredients: For the Bhaji: For the Pav: Step by Step Recipe 1. Preparing the Vegetables: 2. Making the Bhaji: 3. Toasting the Pav: Tips for Perfection Serving Suggestions Traditionally, it is served hot with a side of buttered Pav, chopped onions, and lemon wedges. However, you can get creative: Common Mistakes to Avoid History and Origin It has its roots in the streets of Mumbai, where it was originally a quick meal for textile mill workers in the mid-19th century. The dish was created to provide a nutritious and filling meal that was both affordable and easy to prepare. Over time, it gained popularity and found its way into restaurants and homes across India, evolving into the beloved dish we know today. Health Benefits While Pav Bhaji is indulgent, it can also be nutritious. The Bhaji is packed with vegetables like potatoes, carrots, peas, and cauliflower, providing essential vitamins, minerals, and fiber. To make it healthier: Variations It is a versatile dish with several variations to suit different tastes: Regional Cuisines While Mumbai is the birthplace of Pav Bhaji, the dish has been adapted by various regional cuisines: Frequently Asked Questions (FAQs) 1. Can I make Pav Bhaji ahead of time? Yes, you can prepare the Bhaji in advance and store it in the refrigerator for up to 2-3 days. Reheat it on the stove, adding a little water if necessary, before serving. 2. What can I substitute for Pav if unavailable? If Pav buns are not available, you can use regular dinner rolls, burger buns, or even toasted bread slices as a substitute. 3. Is Pav Bhaji vegan-friendly? Traditional Pav Bhaji contains butter, but you can easily make it vegan by using dairy-free butter or oil and ensuring the Pav buns are vegan. 4. Can I freeze Pav Bhaji? Yes, you can freeze the Bhaji in an airtight container for up to a month. Thaw it overnight in the refrigerator and reheat on the stove before serving. 5. How do I store leftovers? Store leftover Bhaji in an airtight container in the refrigerator for up to 3 days. Toast the Pav fresh when ready to serve again. If you want to know more about Pav Bhaji click here. Few of our other Trending Recipes: Misal Pav Recipe: A Spicy Delight from Maharashtra Pohe Recipe: A Step-by-Step Guide

Aloo Matar Recipe

aloo matar

Aloo Matar, a beloved Indian dish, combines the humble potato (aloo) with green peas (matar) in a flavorful, spiced gravy. This dish, with its roots in the heart of Indian kitchens, is a staple across the country. Whether you’re a beginner in the kitchen or a seasoned cook, Aloo Matar is one of those dishes that’s easy to make but deeply satisfying. Its simplicity, paired with the richness of Indian spices, makes it a go-to meal for many households. Ingredients To make Aloo Matar, you’ll need: Optional Ingredients: When selecting your ingredients, ensure the potatoes are firm and free of blemishes, and if you’re using fresh peas, they should be bright green and plump. Step by Step Recipe Tips for Perfection Serving Suggestions Aloo Matar pairs wonderfully with various Indian breads like roti, naan, or paratha. It also goes well with a simple steamed rice or jeera rice. For a complete meal, serve it alongside a cooling raita, papad, and a fresh salad. If you’re serving guests, consider garnishing with a few julienned ginger strips or a squeeze of lemon juice for added freshness. Common Mistakes to Avoid History and Origin Aloo Matar is a dish deeply rooted in the culinary traditions of North India. Over time, it has become a staple in many households due to its simplicity and versatility. The combination of potatoes and peas is common in many Indian vegetarian dishes, reflecting the agrarian lifestyle of the region where both ingredients are abundant. The dish has evolved over generations, with each family adding its own twist, making it a true representation of comfort food in Indian cuisine. Health Benefits Aloo Matar is not just a tasty dish but also comes with health benefits: To make it even healthier, you can use less oil, or opt for olive oil, and increase the amount of peas while reducing the number of potatoes. Variations Aloo Matar can be customized in numerous ways: Regional Cuisines Aloo Matar has its variants across different regions of India: Each region adds its unique touch, showcasing the diversity of Indian cuisine. Frequently Asked Questions (FAQs) To know more about Aloo Matar click here. Few of our other Trending Recipes: Misal Pav Recipe: A Spicy Delight from Maharashtra Pohe Recipe: A Step-by-Step Guide
Palak Paneer Recipe: A Flavorful and Nutritious Indian Classic

palak paneer

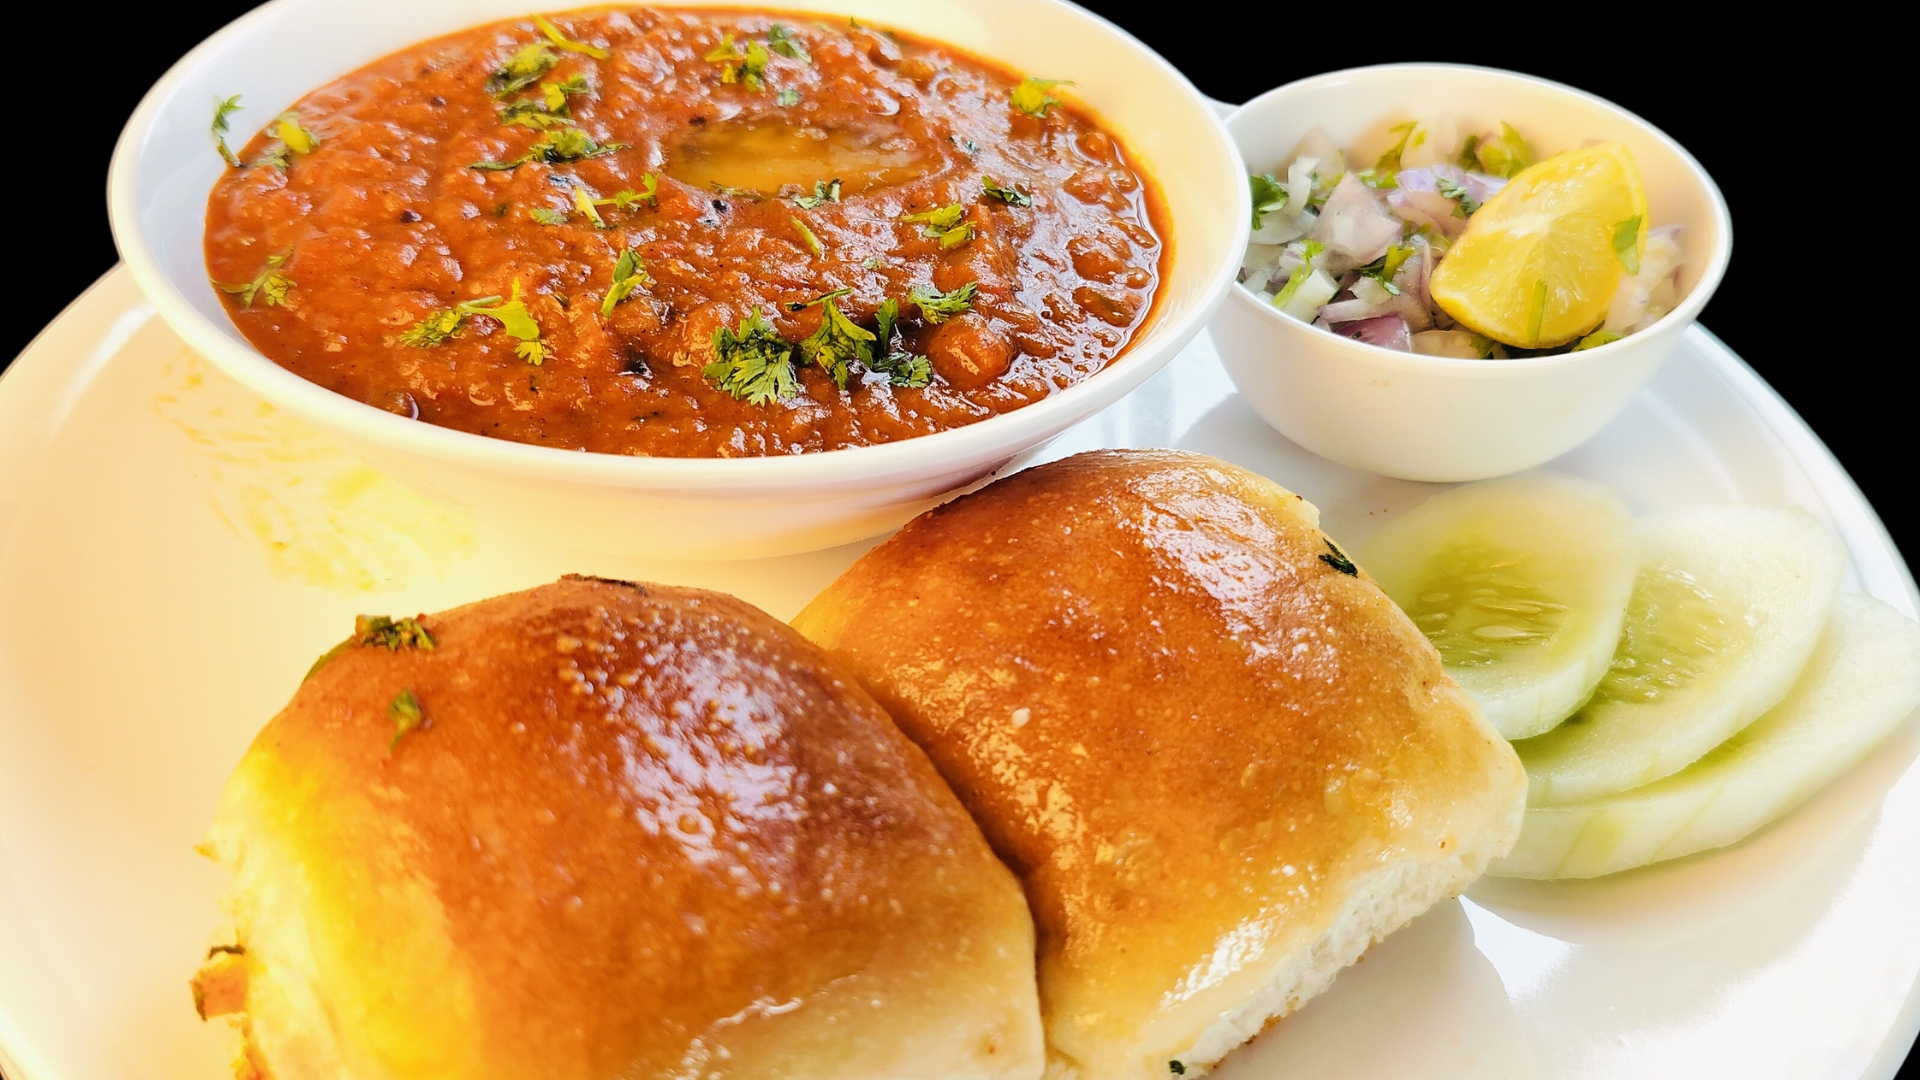
Palak Paneer is a beloved dish in Indian cuisine, celebrated for its blend of creamy paneer (Indian cottage cheese) and nutritious spinach. This dish stands out as a perfect example of how healthy ingredients can be transformed into a flavorful, satisfying meal. Whether you’re a fan of rich, hearty curries or looking to incorporate more greens into your diet, Palak Paneer offers something for everyone. The vibrant green color, the mildly spiced gravy, and the tender cubes of paneer make it a dish that’s not just delicious but also visually appealing. Ingredients To make Palak Paneer at home, you’ll need the following ingredients: Optional Ingredients: Notes on Ingredient Quality: For the best results, use fresh, tender spinach and high-quality paneer. Homemade paneer is ideal, but if you’re using store-bought, try soaking it in warm water for 10 minutes to soften it before cooking. Step by Step Recipe Preparing the Spinach (Palak) Preparing the Paneer Cooking Steps for Palak Paneer Final Touches and Adjustments Tips for Perfection Serving Suggestions Palak Paneer is incredibly versatile and can be served in various ways: Common Mistakes to Avoid History and Origin Palak Paneer has its roots deeply embedded in North Indian cuisine, particularly in Punjab. This dish is a staple in many Punjabi households and has become popular across India and beyond. The combination of spinach and paneer is believed to have evolved as a way to utilize locally available ingredients—spinach being abundant in the region and paneer, a rich source of protein. Over time, the dish has seen various adaptations, incorporating regional spices and cooking methods, but the essence of the dish remains the same: a nutritious and flavorful curry that brings together the best of Indian culinary traditions. Health Benefits Palak Paneer is not just a treat for your taste buds; it’s also packed with nutritional benefits: Variations Palak Paneer is a versatile dish, and there are many ways to tweak it to suit different dietary preferences and taste profiles: Regional Cuisines While Palak Paneer is traditionally a North Indian dish, variations can be found across India: Frequently Asked Questions (FAQs) To know more about palak paneer click here. Few of our other Trending Recipes: Misal Pav Recipe: A Spicy Delight from Maharashtra Pohe Recipe: A Step-by-Step Guide

Veg Cheese Grilled Sandwich Recipe: A Delicious and Easy-to-Make Snack

Veg Cheese Grilled Sandwich

The Veg Cheese Grilled Sandwich is a delightful and quick snack that has won hearts across India. Whether you’re in the mood for a light lunch, a quick breakfast, or a midnight snack, this sandwich fits the bill perfectly. It’s crispy on the outside, gooey on the inside, and packed with the goodness of fresh vegetables and melting cheese. The best part? You don’t need a fancy sandwich maker to whip this up – just your trusty tawa (griddle) will do! Ingredients To make a Veg Cheese Tawa Grilled Sandwich, you’ll need the following ingredients: For Green Chutney: For Sandwich: Step by Step Recipe for Veg Cheese Grilled Sandwich Tips for Perfection Serving Suggestions Common Mistakes to Avoid History and Origin Cheese Grilled sandwiches have a rich history, with variations found in many cultures. The concept of placing ingredients between bread slices and grilling them dates back centuries, with the French croque-monsieur being one of the earliest examples. In India, the Veg Cheese Tawa Grilled Sandwich has become a street food staple, particularly in cities like Mumbai, where street vendors serve them with a variety of chutneys and spices. The adaptation to the tawa, rather than a sandwich maker, makes it accessible to everyone, preserving its authentic taste. Health Benefits Variations of cheese grilled sandwich Regional Cuisines Frequently Asked Questions (FAQs) To know more about Grilled sandwich click here. Few of our other Trending Recipes: Misal Pav Recipe: A Spicy Delight from Maharashtra Pohe Recipe: A Step-by-Step Guide

Patwadi Curry Recipe: A Complete Guide

Patwadi

Patwadi curry, a rich and flavorful dish from the Indian state of Maharashtra, is a culinary gem that’s beloved by many. This traditional recipe features spicy gram flour (besan) cakes, known as “patwadi,” which are steamed, sliced, and simmered in a tangy and spicy curry. The combination of tender patwadi pieces and a thick, aromatic curry makes it a comforting and satisfying meal. Whether you’re new to Maharashtrian cuisine or a seasoned cook, this guide will walk you through everything you need to know about making this curry at home. Ingredients For the Patwadi (Besan Cakes): For the Curry: Step by Step Recipe Creating this curry might seem challenging, but breaking it down into simple steps makes it manageable. Let’s checkout the process: Step 1: Preparing the Patwadi Step 2: Making the Curry Tips for Perfection Serving Suggestions Common Mistakes to Avoid History and Origin This curry has its roots deeply embedded in Maharashtrian cuisine, particularly in the Vidarbha region. The dish is believed to have originated as a staple in rural households where besan (gram flour) was commonly used due to its affordability and nutritional value. Over time, this humble dish evolved, gaining popularity across the state and beyond, becoming a beloved part of traditional Maharashtrian thalis (meals). Health Benefits Variations Regional Cuisines Patwadi curry, while popular in Maharashtra, has variations in neighboring states as well. In Karnataka, a similar dish called “Menthe Kadabu” is made, though it has distinct regional flavors. The core concept remains the same – gram flour cakes in a spicy gravy – but the spices and preparation methods vary, reflecting the diversity of Indian cuisine. Frequently Asked Questions (FAQs) 1. Can I make this curry in advance? Yes, you can prepare the patwadi pieces a day in advance and store them in the refrigerator. When you’re ready to serve, simply prepare the curry and add the pre-made patwadi pieces. This can save time and make meal prep easier. 2. What can I use as a substitute for coconut milk? If you prefer not to use coconut milk, you can substitute it with regular milk or cream. Another option is to omit it entirely and use water to adjust the consistency of the curry, though this may result in a less creamy texture. 3. How do I prevent the patwadi from breaking in the curry? To prevent the patwadi pieces from breaking, ensure that they are well-cooked and firm before adding them to the curry. Also, avoid over-stirring the curry once the patwadi is added. Gently simmering without excessive stirring will keep the pieces intact. 4. Is this curry suitable for vegans? Yes, patwadi curry can be made vegan. Simply ensure that you use oil instead of ghee, and if using coconut milk, make sure it’s dairy-free. The dish is naturally plant-based, making it a great option for vegans. 5. Can I freeze patwadi curry? You can freeze the patwadi pieces separately, but it’s best not to freeze the curry with the patwadi already added. When you’re ready to eat, thaw the patwadi pieces and make the curry fresh. This will help maintain the texture and flavor of the dish. To check out video on patwadi recipe click here. Few of our other Trending Recipes: Misal Pav Recipe: A Spicy Delight from Maharashtra Pohe Recipe: A Step-by-Step Guide

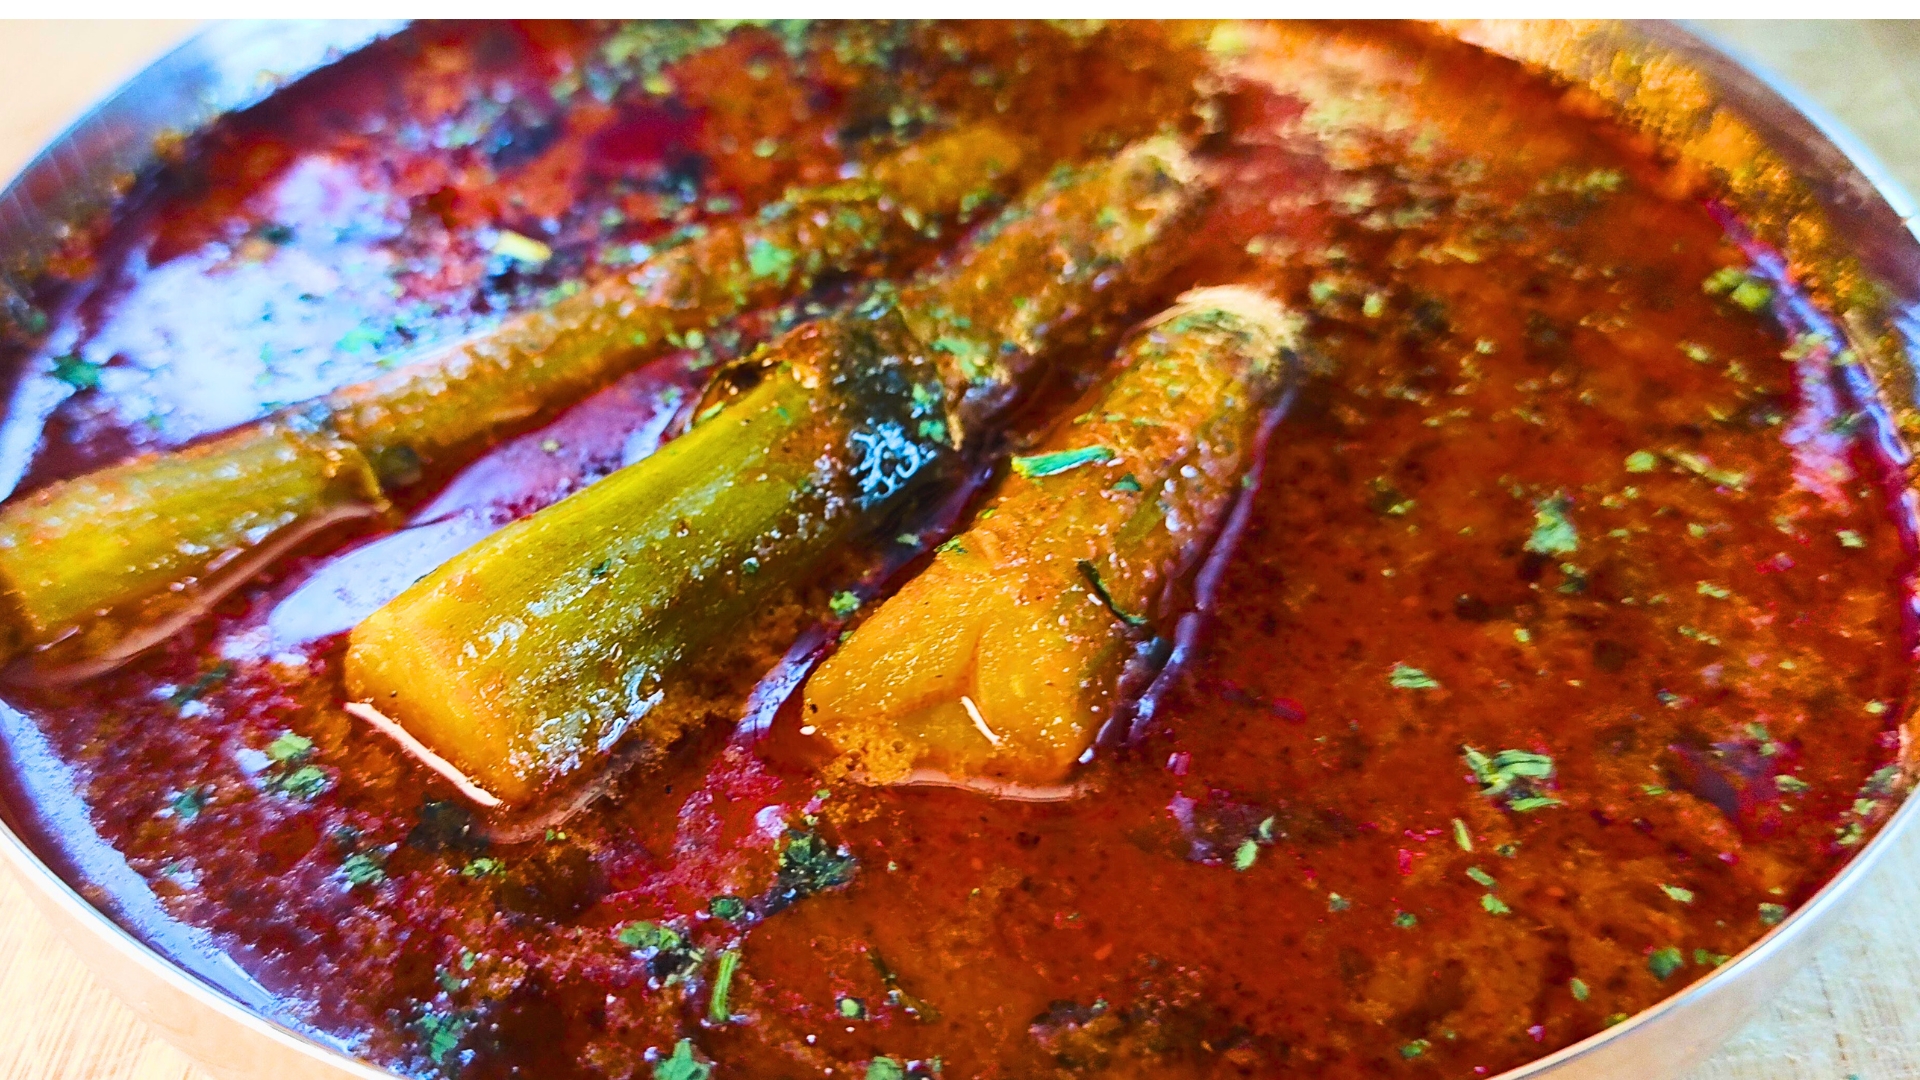
Drumstick Curry: A Delicious and Nutritious Indian Delight

Drumstick

Drumstick curry, also known as “Murungakkai curry” in South India, is a beloved dish that combines the unique flavor of drumsticks with a rich, spicy gravy. This dish is not only delicious but also packed with nutrients, making it a staple in many Indian households. Whether you’re new to Indian cuisine or a seasoned cook, drumstick curry offers a flavorful experience that’s hard to beat. Ingredients Main Ingredients Spices and Seasonings Optional Add-ins Step-by-Step Recipe Preparing the sticks Cooking the Curry Base Adding the Drumsticks Final Touches Tips for Perfection Choosing Fresh Sticks Ensure they are fresh and tender. Older sticks can be fibrous and tough to eat. Perfecting the Curry Consistency For a thicker curry, reduce the coconut milk. If you prefer a thinner consistency, add a little water. Balancing Spices Taste the curry as it cooks and adjust the spices accordingly. If it’s too spicy, add more coconut milk to mellow the heat. Serving Suggestions Ideal Accompaniments This curry pairs perfectly with steamed rice, chapati, or dosa. Presentation Tips Serve the curry in a deep bowl, garnished with fresh coriander leaves and a sprinkle of coconut flakes for an added touch of elegance. Common Mistakes to Avoid Overcooking the Sticks Drumsticks should be tender but not mushy. Boil them just until they start to soften. Using Too Much or Too Little Spice Balance is key in this dish. Too much spice can overpower the delicate flavor of the sticks, while too little can make the curry bland. Ignoring the Importance of Fresh Ingredients Fresh ingredients, especially spices and sticks, make a significant difference in the flavor of the curry. History and Origin Traditional Roots This curry has its roots in South Indian cuisine, particularly in Tamil Nadu and Kerala, where drumsticks are a common vegetable in daily cooking. Evolution of the Recipe Over time, this dish has evolved, incorporating various regional spices and cooking techniques, making it a versatile and cherished recipe across India. Health Benefits Nutritional Value These are rich in vitamins A, C, and K, calcium, and iron. They are known for their anti-inflammatory and antioxidant properties. Benefits of the Spices Used The spices in this curry, such as turmeric and cumin, have numerous health benefits, including anti-inflammatory effects and aiding digestion. Variations Vegan/Vegetarian Options While the traditional recipe is vegetarian, you can easily make it vegan by ensuring no dairy-based products are used. Adding more vegetables like potatoes, carrots, and peas can enhance the nutritional value. Regional Twists In some regions, tamarind pulp is added for a tangy flavor, while others might use yogurt to give a creamy texture. Regional Cuisines South Indian Cuisine In South India, drumstick curry is often made with a coconut-based gravy, enhancing its richness and flavor. North Indian Versions North Indian versions might use a tomato-based gravy with different spice blends, giving it a distinct taste. International Adaptations With the popularity of Indian cuisine worldwide, drumstick curry has found its way into international kitchens, often adapted to suit local tastes and available ingredients. Frequently Asked Questions (FAQs) Can drumstick curry be frozen? Yes, drumstick curry can be frozen for up to two months. Make sure to store it in an airtight container. How to store leftover curry? Store leftover curry in the refrigerator in an airtight container. It should be consumed within 3-4 days. Can I use frozen drumsticks? Yes, frozen drumsticks can be used if fresh ones are not available. Thaw them before cooking. What can I substitute for drumsticks? If drumsticks are unavailable, green beans or okra can be used as substitutes, though the flavor will differ slightly. How to reduce the spiciness of the curry? To reduce the spiciness, add more coconut milk or a small amount of sugar. This will balance the heat without altering the flavor too much. Drumstick curry is a delightful and nutritious dish that showcases the rich culinary heritage of India. By following this comprehensive guide, you can create a flavorful and authentic drumstick curry that will impress your family and friends. Enjoy the journey of making this traditional dish and savor the unique flavors it brings to your table. To know more about Drumsticks click here. Few of our other Trending Recipes: Misal Pav Recipe: A Spicy Delight from Maharashtra Pohe Recipe: A Step-by-Step Guide
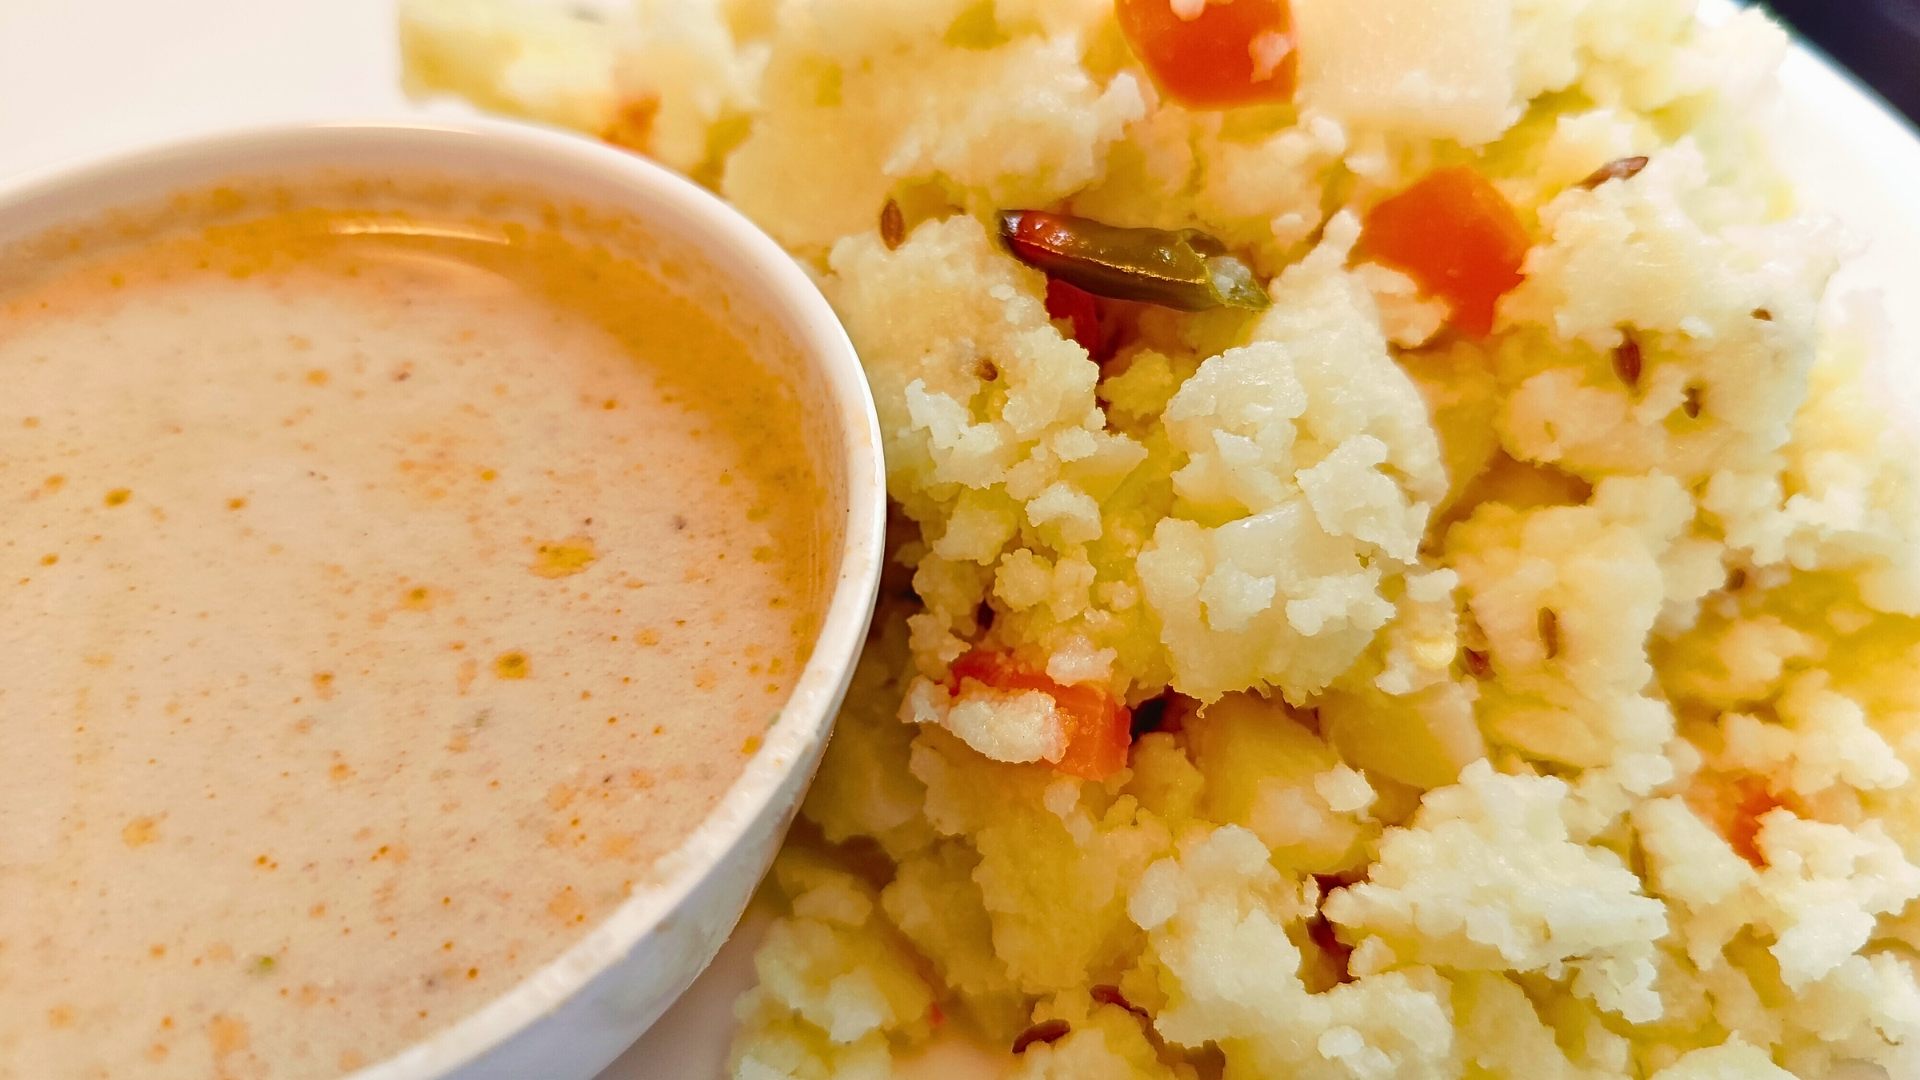
Ivy Gourd Rice with Buttermilk Kadhi Recipe: A Delectable Indian Dish

Ivy Gourd

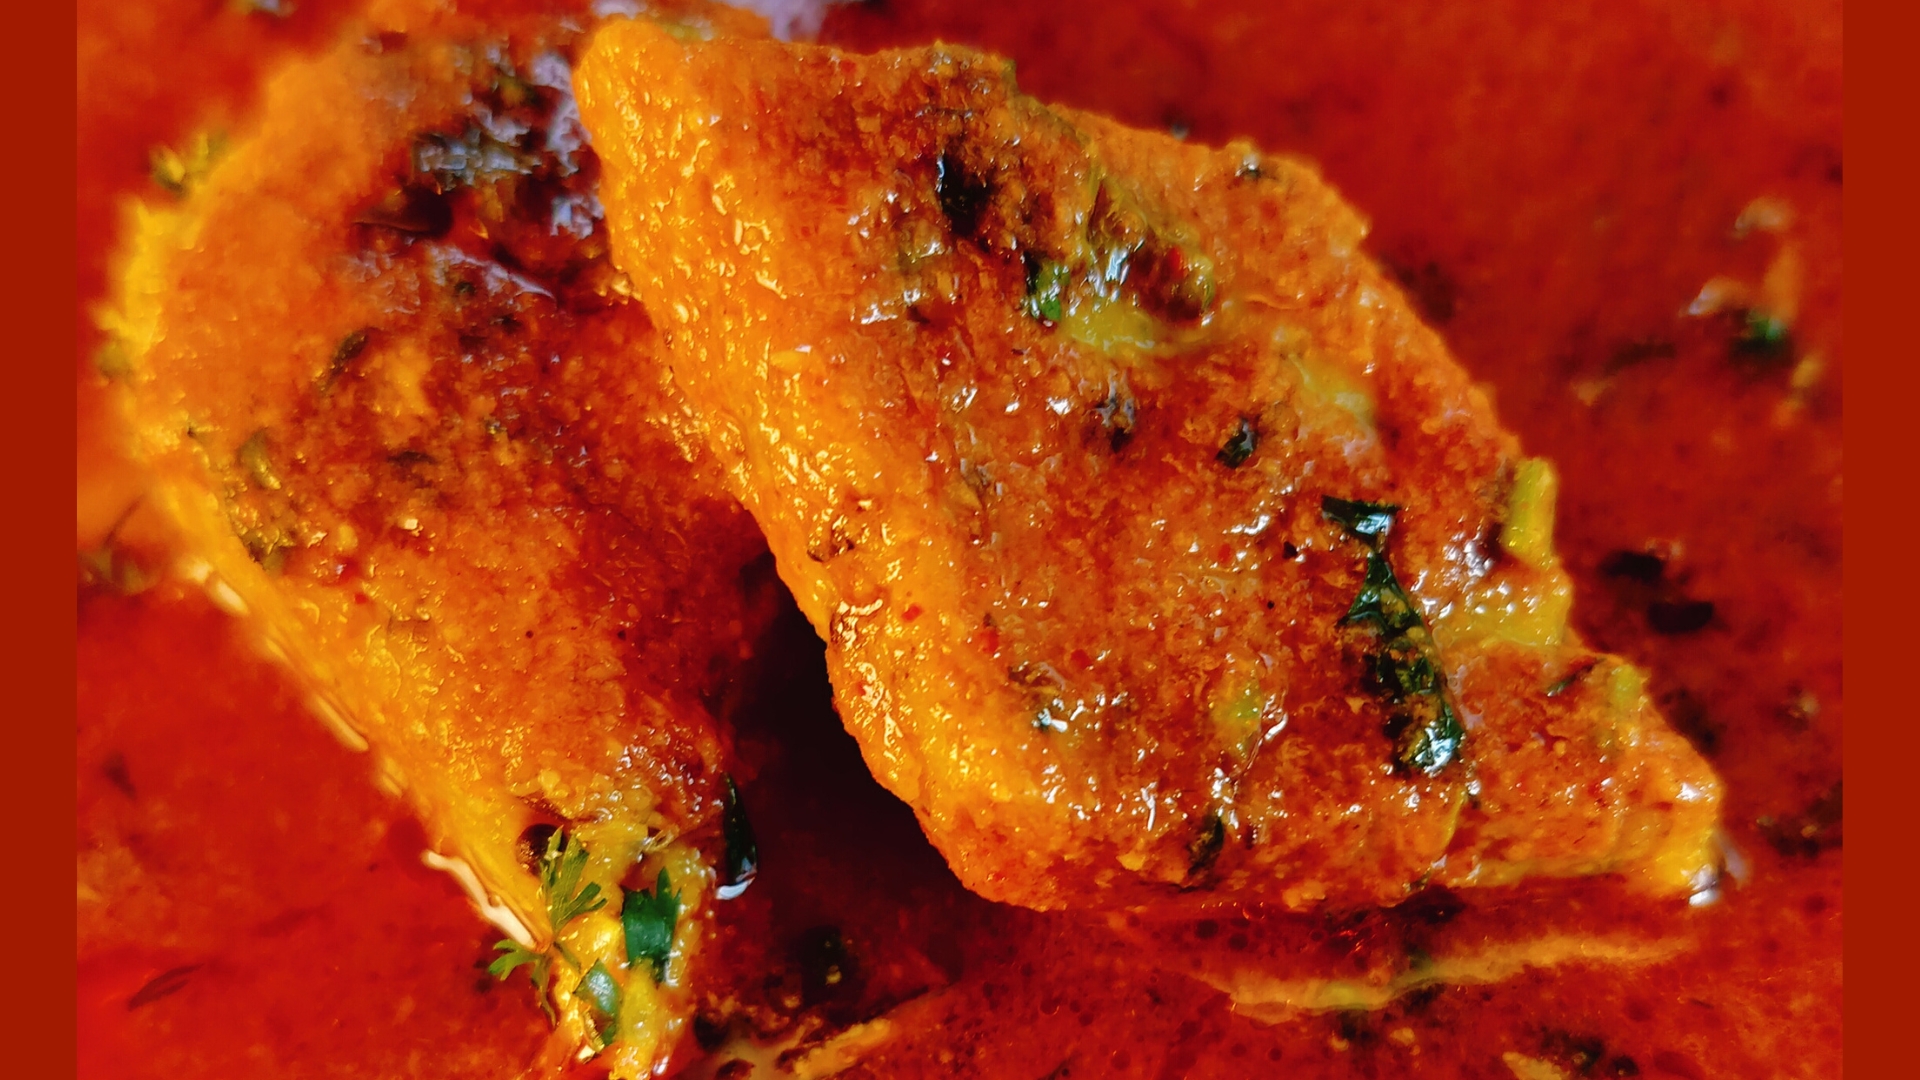
Tendli(Ivy gourd) Rice with Kadhi is a classic dish that showcases the rich culinary traditions of India. This delightful combination of spiced ivy gourd rice and tangy buttermilk-based curry is not only delicious but also easy to prepare. Perfect for a family meal or a special occasion, Tendli Rice with Kadhi brings together a medley of flavors and textures that will leave your taste buds craving more. Ingredients For Tendli Rice For Kadhi Step by Step Recipe Preparing Tendli Rice Making Kadhi Tips for Perfection Serving Suggestions Common Mistakes to Avoid History and Origin Ivy gourd Rice with Kadhi is a beloved dish in Indian households, particularly in regions like Maharashtra and Gujarat. Tendli, also known as ivy gourd or tindora, is a popular vegetable in Indian cuisine, appreciated for its crunchy texture and mild flavor. Kadhi, a buttermilk-based curry, has its roots in the northern and western parts of India, where it’s traditionally served with rice or khichdi. This combination of tendli rice and kadhi reflects the culinary ingenuity of blending local ingredients with traditional cooking methods. Health Benefits Variations Regional Cuisines Frequently Asked Questions (FAQs) To know more about Ivy gourd click here. Few of our other Trending Recipes: Misal Pav Recipe: A Spicy Delight from Maharashtra Pohe Recipe: A Step-by-Step Guide