Stir-Fried Broccoli Recipe

broccoli

Stir-fried broccoli is a delicious, healthy, and easy-to-make dish that’s perfect for any meal. Whether you’re a seasoned cook or a beginner, this dish offers a quick and tasty way to enjoy the numerous benefits of broccoli. Stir-frying not only preserves the vegetable’s vibrant color and crisp texture but also enhances its natural flavors. Let’s checkout this simple yet delightful recipe! Ingredients To create a perfect stir-fried broccoli, you’ll need the following ingredients: Step by Step Recipe Preparation Steps: Cooking Steps: Tips for Perfection Serving Suggestions Stir-fried broccoli pairs well with a variety of dishes. Serve it alongside steamed rice, as a side to grilled chicken or tofu, or as part of a larger stir-fry with other vegetables and proteins. For added flavor, sprinkle with a bit of sesame seeds or drizzle with a touch more sesame oil before serving. Common Mistakes to Avoid History and Origin Stir-frying is a cooking technique that originated in China over 2,000 years ago. It involves cooking food quickly at high temperatures, which retains the nutrients and flavors of the ingredients. It is, although not originally from China, has become a staple in Chinese-American cuisine, particularly in stir-fries, due to its nutritional benefits and compatibility with the stir-frying technique. Health Benefits Broccoli is a powerhouse of nutrients. It’s rich in vitamins C and K, fiber, and antioxidants. Stir-frying broccoli helps preserve these nutrients, making it a healthy addition to any meal. The garlic and ginger often used in stir-fries also offer anti-inflammatory benefits, enhancing the dish’s overall health profile. Variations Regional Cuisines Stir-fried broccoli varies across regions. In Sichuan cuisine, you might find it spiced with Sichuan peppercorns and dried chilies. Cantonese versions may include a lighter sauce with a hint of sweetness. Each region brings its unique twist to this versatile dish, showcasing the diversity of Chinese cuisine. Frequently Asked Questions (FAQs) Enjoy your stir-fried broccoli as a delicious and nutritious addition to your meal. To know more about broccoli click here. Few of our other Trending Recipes: Misal Pav Recipe: A Spicy Delight from Maharashtra Pohe Recipe: A Step-by-Step Guide

Misal Pav Recipe: A Spicy Delight from Maharashtra

misal pav

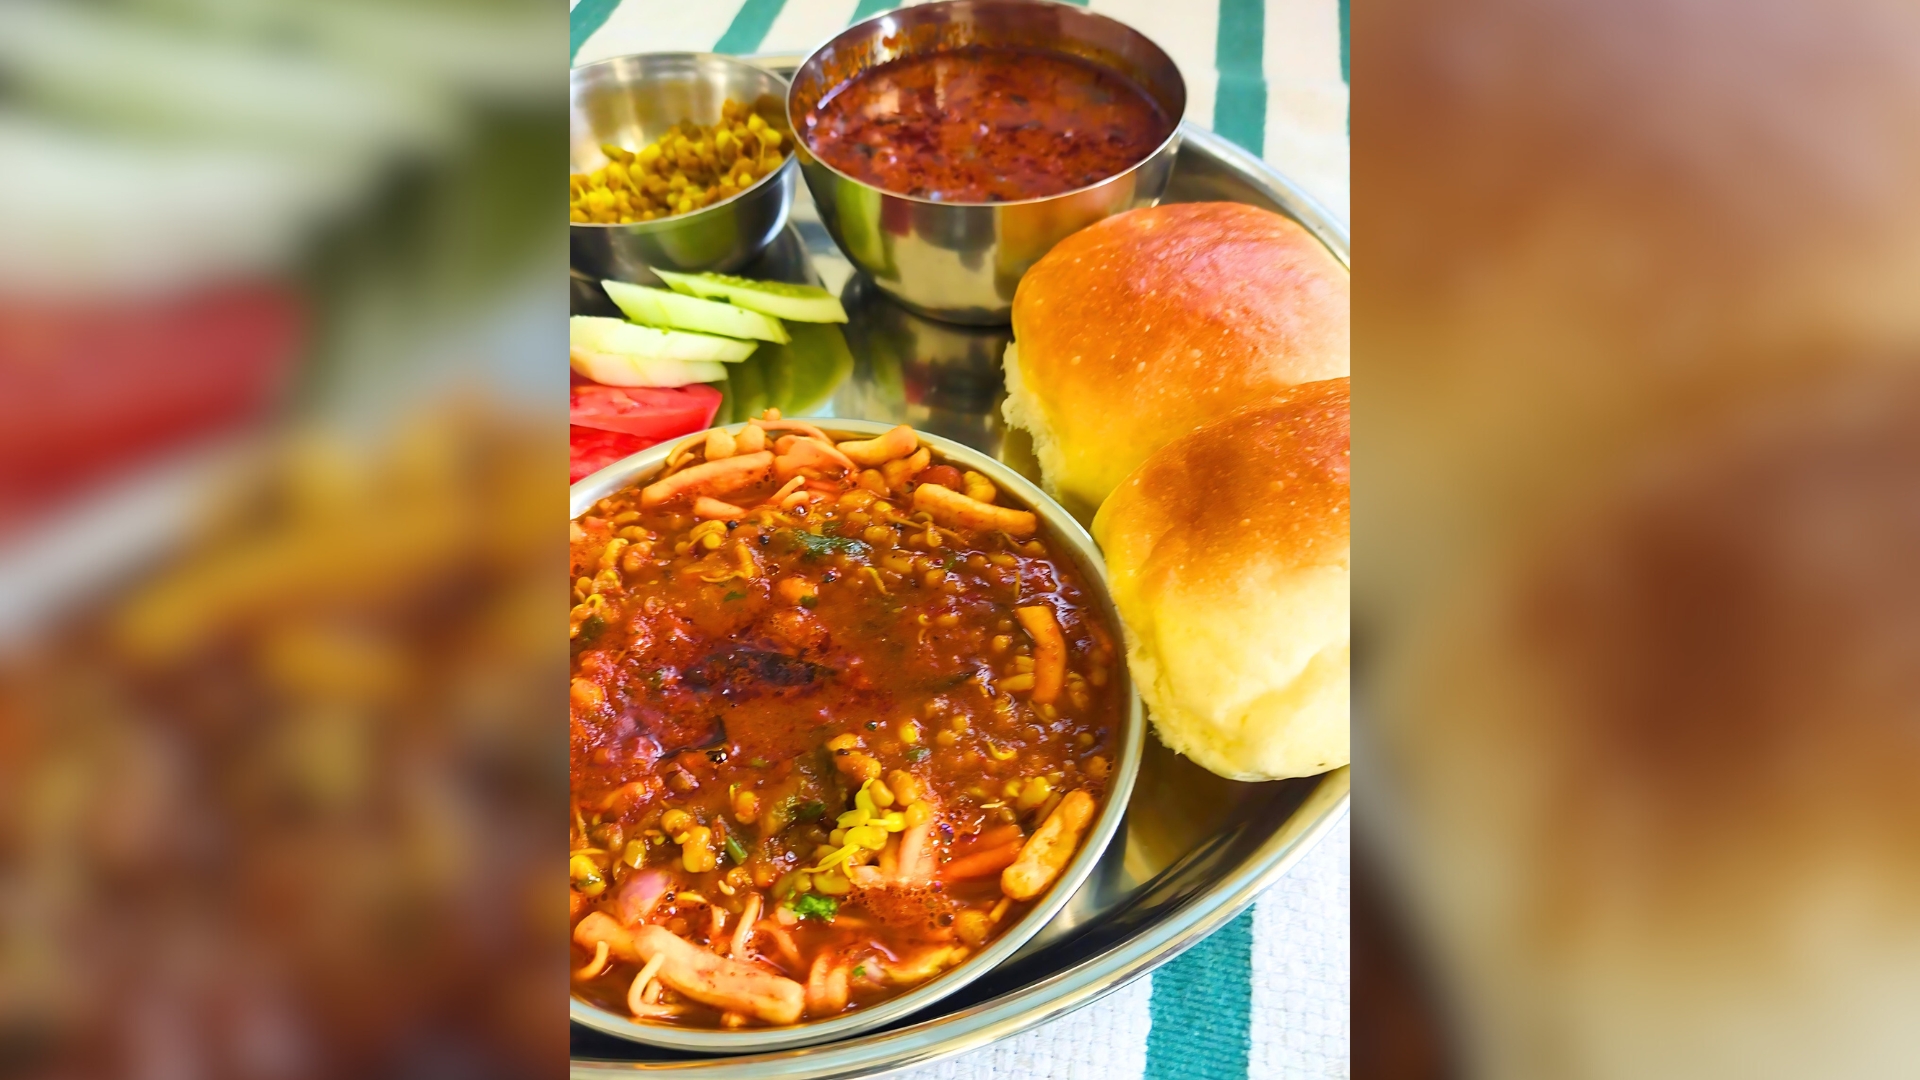
Misal pav is a typical Maharashtrian dish that combines the richness of sprouted legumes with a spicy, flavorful gravy. This iconic dish is a staple in many households across Maharashtra and is known for its vibrant flavors and hearty ingredients. Whether you’re new to Maharashtrian cuisine or a seasoned foodie, Misal pav offers a delicious adventure for your taste buds. Ingredients To make an authentic Misal pav, you’ll need: Step by Step Misal Pav Recipe Preparation of Sprouts: Making the Misal Wet Masala: Making the Misal Gravy: Preparing the Farsan Topping: While the gravy simmers, ensure your farsan is ready. This is a mixture of various fried snacks and can be store-bought or homemade. Assembling the Misal pav: Tips for Perfection Serving Suggestions Traditionally, Misal is served with: For a modern twist, you can serve Misal with: Common Mistakes to Avoid History and Origin Misal Pav has its roots deeply embedded in the cultural tapestry of Maharashtra. Traditionally, it was a humble meal of sprouted legumes and spicy gravy, enjoyed by the working class for its nutritive value and affordability. Over time, it has evolved, with each region adding its unique twist to this classic dish. Health Benefits Misal is not only delicious but also nutritious: Variations Misal comes in many delightful variations: Regional Cuisines Across Maharashtra, Misal is prepared differently: Frequently Asked Questions (FAQs) Enjoy making and savoring this spicy, flavorful dish that offers a true taste of Maharashtra! You may also like to know more about Misal Pav. Or you may like to read about our other recipies like Puran Poli

Pohe Recipe: A Step-by-Step Guide

pohe

Pohe, also known as poha or flattened rice, is a popular breakfast dish in India. It’s quick, easy, and incredibly versatile, making it a favorite in many households. Whether you’re new to Indian cuisine or looking for a simple yet delicious meal, pohe is a great choice. Ingredients Step-by-Step Recipe 1. Preparing the Poha 2. Cooking the Vegetables 3. Combining the Ingredients 4. Finishing Touches Tips for Perfection Serving Suggestions Pohe is best enjoyed hot, garnished with fresh coriander leaves and a squeeze of lemon juice. It pairs well with a cup of hot tea or coffee, making it a perfect breakfast or snack option. Common Mistakes to Avoid History and Origin Pohe traces its origins to the Indian state of Maharashtra. Traditionally, it was a staple in Maharashtrian households and has now become popular across the country. The simplicity and versatility of pohe have made it a beloved dish in many regions. Health Benefits Variations Regional Cuisines Pohe variations can be found across India: Frequently Asked Questions (FAQs) 1. Can I make poha in advance? Yes, you can prepare the vegetable mixture in advance and add poha just before serving to keep it fresh. 2. Is poha gluten-free? Yes, poha is naturally gluten-free, making it a great option for those with gluten intolerance. 3. How can I store leftover poha? Store any leftover poha in an airtight container in the refrigerator. Reheat it in a microwave or on a stovetop before serving. 4. Can I use red poha instead of white poha? Yes, red poha is a healthier alternative and can be used in the same way as white poha. You may also be intrested in knowing more about pohe. Few of our other Trending Recipes: Bitter Melon(Karela) Grated Sabzi How to Make Restaurant-Style Idli Sambar?

Matar Paneer Recipe: A Complete Guide to This Delicious Indian Dish

matar paneer

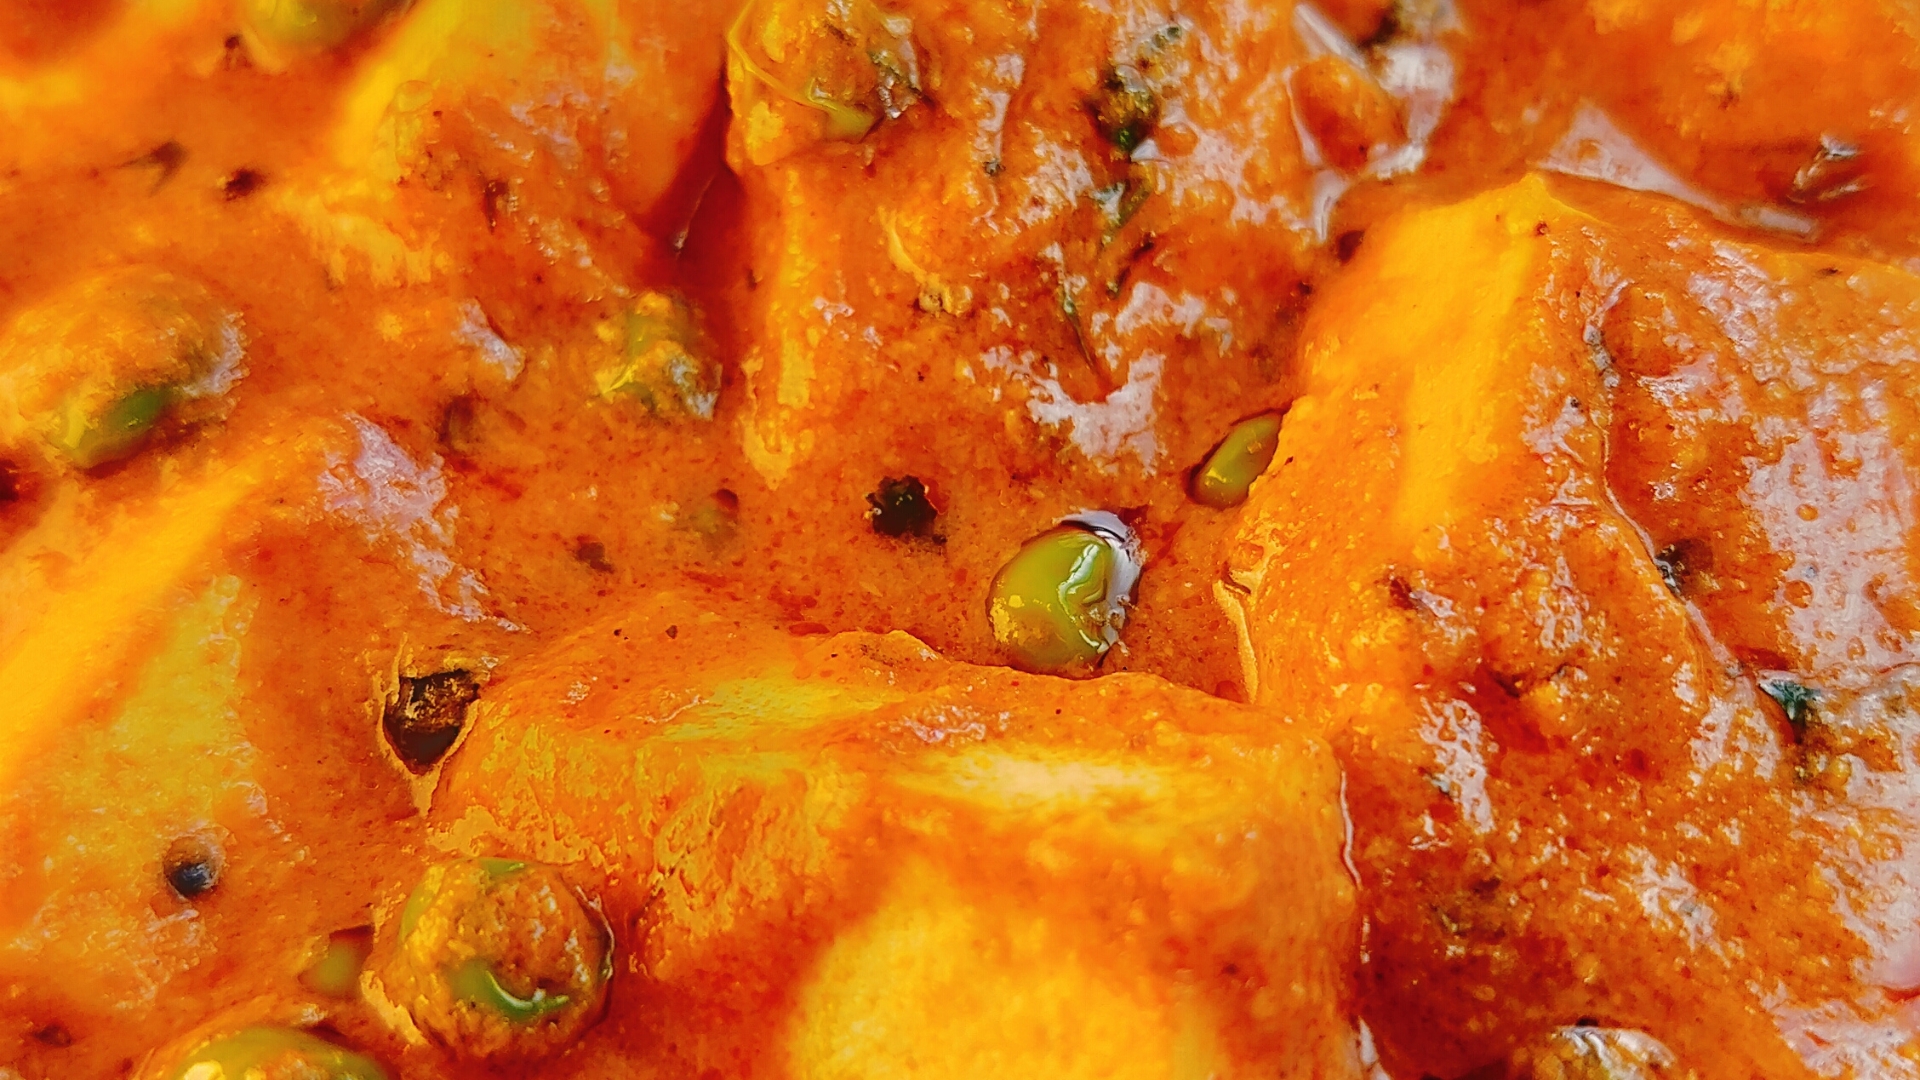
Matar Paneer is a classic North Indian dish that is beloved for its rich, flavorful, and comforting qualities. This vegetarian delight combines paneer (Indian cottage cheese) and matar (green peas) in a spicy gravy. It is a staple in many Indian households and is often enjoyed with roti, naan, or rice. Whether you are a seasoned cook or a beginner, this guide will walk you through everything you need to know about making the perfect Matar Paneer. Ingredients For the Paneer and Peas: For the Gravy: Optional: Step by Step Recipe Step 1: Preparation Step 2: Making the Masala Step 3: Making the Gravy Step 4: Combining Everything Step 5: Garnishing and Serving Tips for Perfection Serving Suggestions Matar Paneer pairs well with various Indian breads like roti, naan, or paratha. It also complements rice dishes like jeera rice or plain basmati rice. For a complete meal, serve it with a side of cucumber raita and some pickles. Common Mistakes to Avoid History and Origin Matar Paneer has its roots in North Indian cuisine, particularly from the Punjab region. It is a popular dish in Indian restaurants worldwide and is often featured in festive and celebratory meals. The use of paneer and peas reflects the agricultural produce of the region, making it a dish that is both comforting and familiar. Health Benefits Matar Paneer is not just delicious but also nutritious. Paneer is a great source of protein and calcium, which are essential for bone health. Green peas are rich in vitamins, minerals, and fiber, aiding in digestion and overall health. The spices used in the dish, like turmeric and cumin, have anti-inflammatory and digestive benefits. Variations Regional Cuisines While Matar Paneer is primarily a North Indian dish, its popularity has spread across India, leading to regional adaptations. In Bengal, for example, mustard oil might be used for a distinct flavor. In Maharashtra, a hint of coconut might be added to the gravy. Each region brings its unique twist to this beloved recipe. Frequently Asked Questions (FAQs) You may like to know more about Matar Paneer. Few of our other Trending Recipes: Bitter Melon(Karela) Grated Sabzi How to Make Restaurant-Style Idli Sambar?

Jaggery Coconut Deep Fried Modak Recipe

Modak

If you’re a fan of traditional Indian sweets, then jaggery coconut deep fried modak is a treat you won’t want to miss. Often associated with the festival of Ganesh Chaturthi, these sweet dumplings are not only delicious but also hold cultural significance. Let’s enjoy the delightful world of modaks and discover how you can make this beloved sweet at home. Ingredients For the Dough: Step by Step Recipe Preparing the Dough Making the Filling Shaping the Modaks Deep Frying the Sweet Dumplings Tips for Perfection Choosing the Right Ingredients Perfecting the Dough Frying Tips Serving Suggestions Common Mistakes to Avoid History and Origin Modaks have a rich history rooted in Indian culture, particularly in the state of Maharashtra. They are especially significant during the festival of Ganesh Chaturthi, as they are believed to be Lord Ganesha’s favorite sweet. Traditionally, steamed dumplings called “ukadiche modak” are offered to the deity, but variations like the deep-fried version are also popular. Health Benefits Variations Steamed Chocolate Dry Fruits Regional Cuisines Maharashtra Southern India Frequently Asked Questions (FAQs) Can I use alternative sweeteners? How long can I store sweet dumplings? Can these be made vegan? What is the best oil for frying modaks? Can I bake them instead of frying? To know more about modaks click here. Few of our other Trending Recipes: Misal Pav Recipe: A Spicy Delight from Maharashtra Pohe Recipe: A Step-by-Step Guide

Sweet Corn Soup Recipe: A Delightful Comfort Food

corn soup

Who doesn’t love a warm bowl of sweet corn soup? This comforting dish has a way of warming your heart and filling your belly with joy. Whether you’re seeking a cozy starter for a fancy dinner or a simple, soothing meal to enjoy on a chilly evening, sweet corn soup is the perfect choice. It’s loved by people all around the world for its creamy texture and delightful taste. Ingredients Before we dive into the recipe, let’s gather all the necessary ingredients: Essential Ingredients: Optional Add-ins: Step-by-Step Recipe Ready to make some delicious sweet corn soup? Follow these easy steps: Preparing the Ingredients: Cooking Process: Final Touches: Tips for Perfection To make sure your sweet corn soup turns out perfect every time, keep these tips in mind: Achieving the Perfect Consistency: Enhancing the Flavor: Serving Suggestions Sweet corn soup can be served in various ways to make your meal even more delightful: Best Ways to Serve Sweet Corn Soup: Ideal Accompaniments: Common Mistakes to Avoid Even simple recipes can go wrong. Avoid these common mistakes to ensure your sweet corn soup is perfect: Pitfalls and How to Prevent Them: Troubleshooting Common Issues: History and Origin Sweet corn soup has a rich history that spans different cultures and continents. It’s believed to have originated in Asia, particularly in China, where corn is a staple ingredient. Over time, this delicious soup made its way to the West and became a popular dish in many households. Health Benefits Sweet corn soup is not only tasty but also packed with nutrients: Nutritional Value of Sweet Corn Soup: Health Advantages: Variations There are countless ways to customize sweet corn soup to suit your taste buds: Different Versions of Sweet Corn Soup: Popular Variations Across the Globe: Regional Cuisines Sweet corn soup is enjoyed in various forms around the world: Sweet Corn Soup in Different Cultures: Regional Twists and Adaptations: Frequently Asked Questions (FAQs) Q1: Can I use canned corn for sweet corn soup? A1: Yes, canned corn works well and is a convenient option. Just make sure to drain and rinse it before use. Q2: How do I store leftovers? A2: Store any leftover soup in an airtight container in the refrigerator for up to 3 days. Reheat gently on the stovetop or in the microwave. Q3: What can I use instead of cream to make it dairy-free? A4: Coconut milk is a great dairy-free alternative that adds a lovely flavor and creaminess to the soup. Q4: How can I make the soup thicker? A5: To thicken the soup, you can add a mixture of cornstarch and water or blend in some cooked potato. to know more about sweet corn soup click here. Few of our other Trending Recipes: Misal Pav Recipe: A Spicy Delight from Maharashtra Pohe Recipe: A Step-by-Step Guide
Nankhatai: The Ultimate Guide to Indian Cookies Recipe

nankhatai

Nankhatai, the melt-in-your-mouth Indian cookies recipe, have been a beloved treat for generations. These crumbly, fragrant biscuits are perfect with a cup of tea or coffee, making them a staple in many Indian households. Ingredients Essential Ingredients Optional Additions Step-by-Step Recipe Preparation Mixing the Dough Shaping and Baking Cooling and Storing Tips for Perfection Achieving the Right Consistency Baking Tips Storing Tips Serving Suggestions Pairing with Beverages Presentation Ideas Common Mistakes to Avoid Overmixing the Dough Incorrect Oven Temperature Not Allowing Cookies to Cool History and Origin The Roots of Nankhatai Nankhatai originated in the Indian subcontinent during the 16th century. The name itself is derived from the Persian word ‘Naan’ meaning bread, and ‘Khatai’ meaning biscuit. This delightful treat was introduced by the Dutch settlers in India and was later adapted to suit Indian tastes. Evolution Over the Years Initially made with simple ingredients like flour, sugar, and ghee, Nankhatai has evolved with various regional twists and flavors. Today, you can find numerous variations, each offering a unique taste of Indian heritage. Health Benefits Nutritional Profile Nankhatai, when made with traditional ingredients, provides a good balance of carbohydrates and fats, making them an energy-boosting snack. They also contain moderate amounts of protein from gram flour. Healthier Alternatives Variations Classic Nankhatai Flavored Nankhatai Vegan and Gluten-Free Options Regional Cuisines North Indian Nankhatai South Indian Nankhatai Unique Regional Twists Frequently Asked Questions (FAQs) Storage Tips Q: How long can I store Nankhatai? A: Nankhatai can be stored in an airtight container for up to two weeks. Ingredient Substitutions Q: Can I use butter instead of ghee? A: Yes, but ghee gives a more authentic flavor and texture. Troubleshooting Q: Why are my cookies too hard? A: Overbaking or using too much flour can make them hard. Ensure accurate measurements and baking time. Q: Can I freeze the dough? A: Yes, you can freeze the dough for up to a month. Thaw before baking. Q: Why did my cookies spread too much? A: This can happen if the dough is too warm or if there is too much ghee. Chill the dough before baking. To know more about Nankhatai click here. Few of our other Trending Recipes: Misal Pav Recipe: A Spicy Delight from Maharashtra Pohe Recipe: A Step-by-Step Guide

How to Make Authentic Shev Bhaji

shev bhaji

If you’re a fan of Indian cuisine, you probably know that every region in India has its own unique culinary treasures. One such gem from the state of Maharashtra is Shev Bhaji. This deliciously spiced dish features crispy shev (fried chickpea flour noodles) immersed in a rich and flavorful gravy. Whether you’re new to Indian cooking or a seasoned pro, this guide will help you make an authentic Shev Bhaji that will delight your taste buds and impress your guests. Ingredients Main Ingredients Optional Ingredients Step by Step Recipe for Shev Bhaji Preparation Cooking Process Tips for Perfection Serving Suggestions Common Mistakes to Avoid History and Origin Shev Bhaji has its roots in Maharashtra, a state in western India. Traditionally, it was a humble dish made in households using basic ingredients available in the pantry. Over time, it gained popularity due to its unique texture and flavorful profile. The use of shev, a common snack in Maharashtra, adds a distinct crunch to the dish. Health Benefits Variations Regional Cuisines Frequently Asked Questions (FAQs) Q1: Can I make Shev Bhaji without coconut? A1: Yes, you can skip the coconut if you prefer. The dish will still be flavorful without it. Q2: How can I make the dish spicier? A2: Add more green chilies or red chili powder to increase the heat. You can also use a spicier variety of shev. Q3: Is there a vegan version of Shev Bhaji? A3: Absolutely! Replace yogurt with a plant-based alternative and ensure the shev is vegan-friendly. Q4: Can I prepare Shev Bhaji in advance? A4: You can prepare the gravy in advance, but add the shev just before serving to maintain its crispiness. Q5: What can I use as a substitute for shev? A5: If shev is unavailable, you can use fried noodles or thin seviyan as a substitute. You may also be interested in knowing more about Shev Bhaji. Few of our other Trending Recipes: Bitter Melon(Karela) Grated Sabzi How to Make Restaurant-Style Idli Sambar?

Bitter Melon(Karela) Grated Sabzi

bitter melon

Grated Bitter Melon, a flavorful Indian dish, transforms the often misunderstood bitter melon into a culinary delight. Revered in Indian households for its health benefits, this sabzi, or vegetable dish, is both nutritious and delicious. If you’ve ever shied away from Karela due to its bitterness, this recipe might just change your mind. Ingredients Creating a perfect Grated Karela Sabzi requires the right ingredients: Essential Ingredients Optional Ingredients Step-by-Step Recipe Cooking Grated Karela Sabzi is straightforward if you follow these steps: Preparation Steps Cooking Steps Tips for Perfection Choosing the Right Karela Select medium-sized, firm, and bright green bitter gourds. Avoid overly ripe or soft ones. Reducing Bitterness Salting and squeezing the Karela helps in significantly reducing its bitterness. Another method is to soak the grated Karela in tamarind water for a few minutes before cooking. Cooking Tips Serving Suggestions Grated Karela Sabzi pairs wonderfully with Indian breads like roti or paratha. It can also be served with steamed rice and a side of dal (lentils) for a complete meal. For a more appealing presentation, garnish with freshly chopped coriander and a slice of lemon on the side. Common Mistakes to Avoid Overcooking Issues Overcooking can make the Karela mushy and unappealing. Keep an eye on the texture and aim for a slight crunch. Ingredient Mishaps Avoid using too many spices that can overpower the natural flavor of Karela. Stick to the recommended spice levels for the best taste. History and Origin Bitter melon, known as Karela in Hindi, has a long history in Indian cuisine. It is believed to have originated in India and was later introduced to China in the 14th century. Karela is a staple in various Indian states, celebrated for its medicinal properties and unique flavor. Health Benefits Bitter Melon is a powerhouse of nutrients. It’s rich in vitamins A, C, and E, folate, and fiber. It is also known for its medicinal properties, particularly in regulating blood sugar levels, which makes it beneficial for people with diabetes. Additionally, it aids in digestion, boosts the immune system, and improves skin health. Variations Grated Karela Sabzi can be customized in many ways: Different Styles Regional Variations Regional Cuisines In India, Karela is used in diverse regional cuisines: Northern India Often prepared with onions, tomatoes, and a variety of spices. Southern India Includes preparations with coconut, tamarind, and curry leaves, offering a different taste profile. Frequently Asked Questions (FAQs) You may also be interested in knowing more about Bitter Melon. Few of our other Trending Recipes: Green Onion and Chickpea Flour Sabzi How to Make Restaurant-Style Idli Sambar?

Green Onion and Chickpea Flour Sabzi

Green Onion

Introduction Green onion and chickpea flour sabzi, also known as “Besan Pyaaz ki Sabzi,” is a delightful and nutritious dish from Indian cuisine. This simple yet flavorful recipe combines the unique taste of green onion with the earthy flavor of chickpea flour. It’s a quick and easy dish that can be prepared with minimal ingredients, making it an ideal choice for a healthy and delicious meal. Ingredients To prepare green onion and chickpea flour sabzi, you will need: Step-by-Step Recipe for Green Onion Tips for Perfection Serving Suggestions Spring onion and chickpea flour sabzi pairs well with roti, chapati, or any flatbread. It can also be served with steamed rice and a side of yogurt or raita for a complete meal. Common Mistakes to Avoid History and Origin The combination of spring onions and chickpea flour is rooted in Indian culinary tradition. Chickpea flour, known as besan, has been a staple in Indian kitchens for centuries due to its versatility and nutritional benefits. The addition of spring onions provides a fresh, mild flavor, making this dish a popular choice in various regions of India. Health Benefits Variations Regional Cuisines In different regions of India, variations of this dish can be found: Frequently Asked Questions (FAQs) Q: Can I use regular onions instead of spring onions? A: Yes, regular onions can be used, but spring onions give a unique flavor and texture to the dish. Q: Can this dish be made vegan? A: The recipe is naturally vegan as it does not include any animal products. Q: How do I store leftovers? A: Store leftovers in an airtight container in the refrigerator for up to 2 days. Reheat in a pan before serving. Q: Can I make this dish gluten-free? A: The recipe is naturally gluten-free as it uses chickpea flour instead of wheat flour. Enjoy preparing and savoring this nutritious and delicious spring onion and chickpea flour sabzi, perfect for any meal of the day! To know more about green onions click here. Few of our other Trending Recipes: Misal Pav Recipe: A Spicy Delight from Maharashtra Pohe Recipe: A Step-by-Step Guide